How to Install Gradle on Ubuntu 22.04

I am on mission to build a devOps community, so please be part of it and connect with me over linkedin : https://www.linkedin.com/in/sunilkumar2807/
Gradle is a build automation tool that is used to build different applications, from mobile applications to microservices. Gradle provides a platform to build, test, and maintain the applications; moreover, if you are working on a multi-build project, Gradle looks continuously at the project, and if you made any changes, even the minor changes, Gradle provides the output according to those changes.
Gradle improves the performance of applications by allowing the parallel execution of tasks and intra-tasks through a worker API, and every time can be limited to the execution time as these tasks have their own timeout property.
Gradle can be installed on different distributions of Linux, but in this guide, we are focusing on discovering the installation of Gradle on Ubuntu.
How to install Gradle on Ubuntu 22.04 from its official website
We will install Gradle by downloading its package from its official website, for this purpose, we will execute the following steps.
Step 1: Install Java on Ubuntu
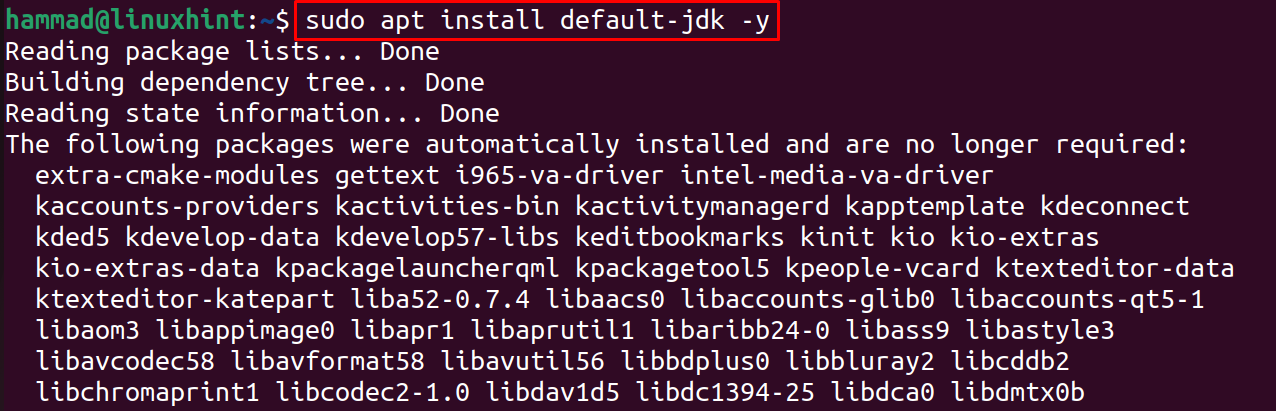
Gradle is dependent on the Java, so we will first install the latest version of Java available in the default repository of Ubuntu using the command:
$ sudo apt install default-jdk -y
We will check out the version of an installed package of Java:
$ java --version
Step 2: Download Gradle package
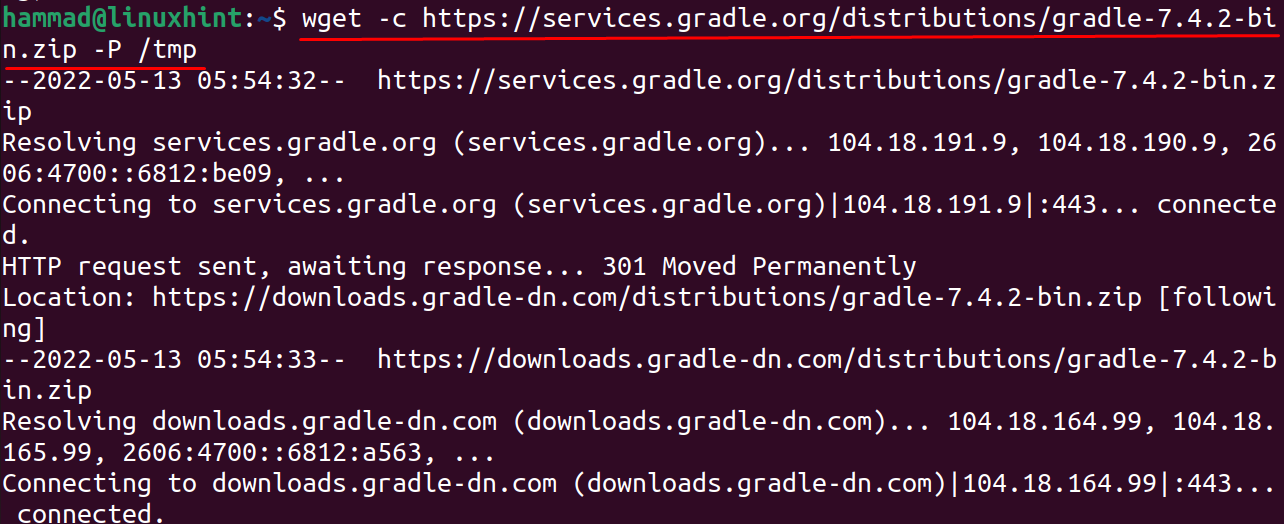
Now after installing the Java, we will download the package of Gradle from its official website in the tmp directory of Ubuntu using the wget command:
$ wget -c https://services.gradle.org/distributions/gradle-7.4.2-bin.zip -P /tmp
We will list down the downloaded package to confirm its downloading:
$ ls /tmp
Step 3: Unzip the downloaded package of Gradle
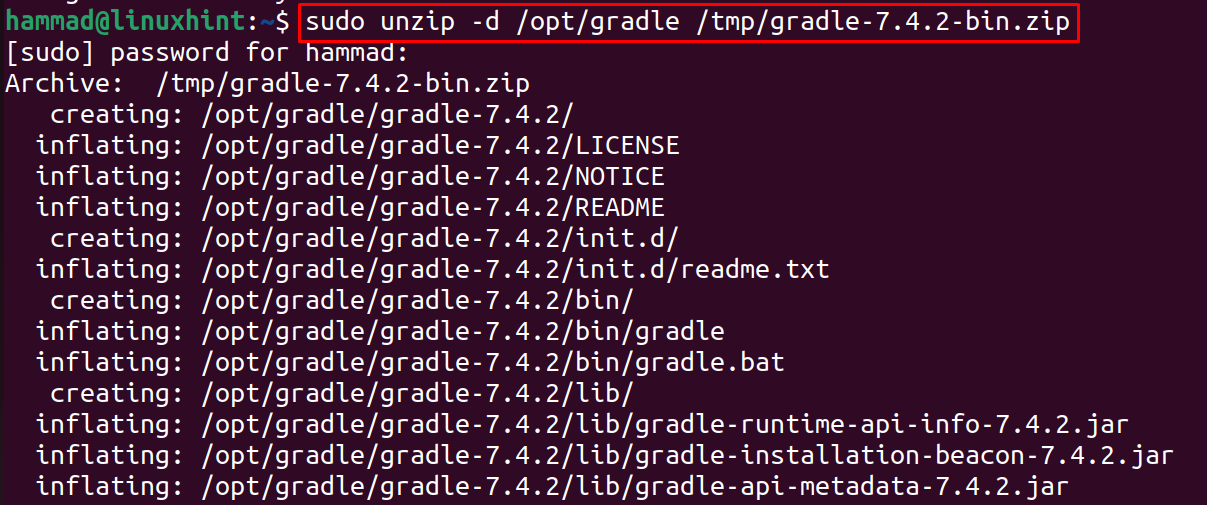
The downloaded package is zipped, we will unzip it using the command:
$ sudo unzip -d /opt/gradle /tmp/gradle-7.4.2-bin.zip
Now again list down the unzipped files by executing the ls command:
$ ls /opt/gradle

Step 4: Set up environment variables
Next step is to set up the environment variables, for this we will make some changes in the “sh” file of Gradle and for this we have to open it with the nano text editor:
$ sudo nano /etc/profile.d/gradle.sh

In the opened file, add the below-mentioned two lines and then exit the editor by saving the changes made in the file:
export GRADLE_HOME=/opt/gradle/gradle-7.4.2
export PATH=${GRADLE_HOME}/bin:${PATH}

Step 5: Change the permissions of file
To make the “sh” file executable, we will change its permissions using the chmod command:
$ sudo chmod +x /etc/profile.d/gradle.sh

Step 6: Install the Gradle
Finally, load the environment variables using:
$ source /etc/profile.d/gradle.sh

To confirm the installation, we will check the version of installed Gradle:
$ gradle --version

How to install Gradle on Ubuntu 22.04 using the snap
Another method to install Gradle on Ubuntu is by downloading and installing it from the snapcraft, and for this purpose, we need a snapd utility which can be installed by using the command:
$ sudo apt install snapd -y

To download and install the snap of Gradle from snapcraft, execute the command:
$ sudo snap install gradle --classic

To remove the installed package of Gradle, use the command:
$ sudo snap remove gradle

Conclusion
Gradle is a tool used to build, automate, test, and maintain the applications, whether they are mobile applications or applications designed to provide microservices. In this guide, Gradle’s installation method on Ubuntu has been explored by downloading its package from its official website.
I am Sunil kumar, Please do follow me here and support #devOps #trainwithshubham #github #devopscommunity #devops #cloud #devoparticles #trainwithshubham
Connect with me over linkedin : linkedin.com/in/sunilkumar2807


